
The accuracy of speech recognition increases through use, and the feature adapts itself to a user’s grammar, word usage, speech patterns, and vocabulary.
Steps To Enable Speech Recognition On Windows 10
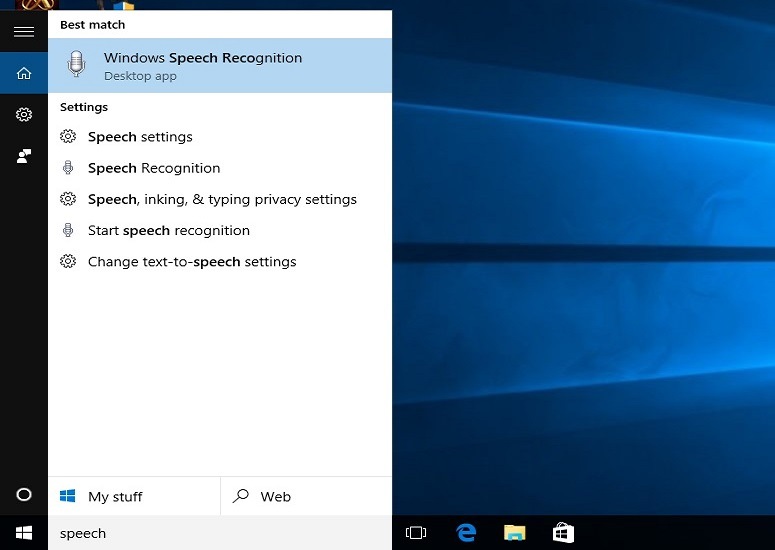
1. Type Speech on the Cortana Search Bar. Click on Windows Speech Recognition on the suggestions shown.
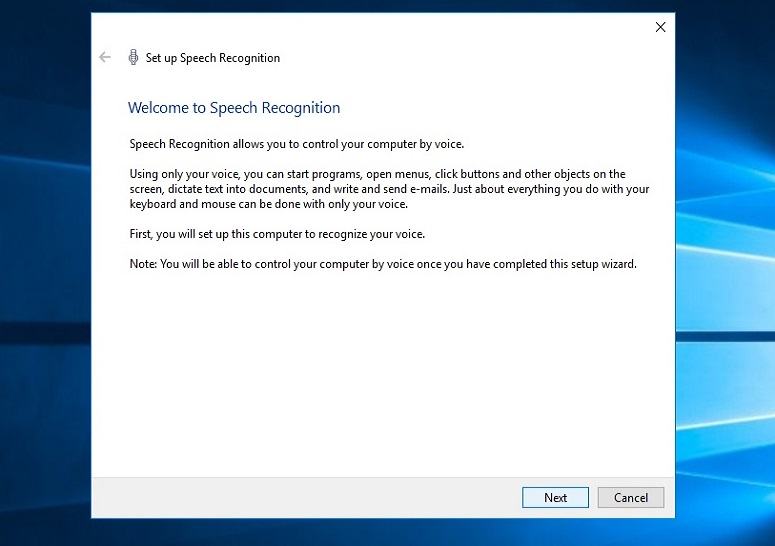
2. A window titled Welcome to Speech Recognition will pop up. Click on Next to proceed.
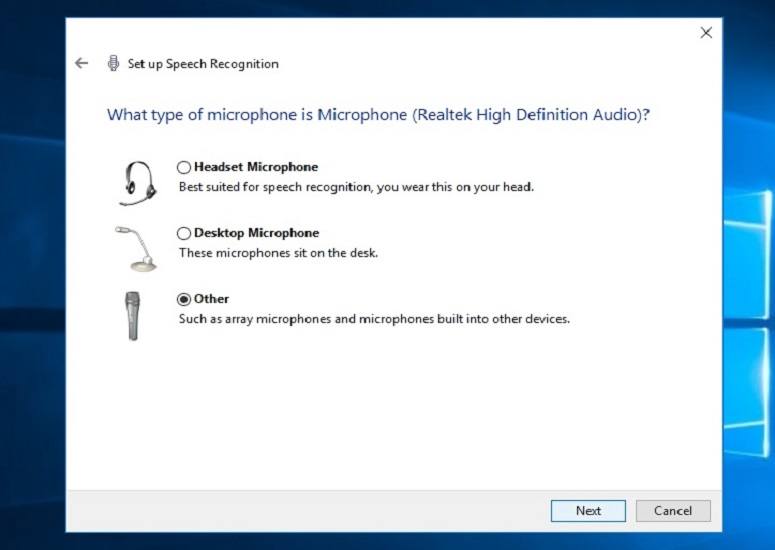
3. In the next window, you will be asked to select your audio input source. Using a headset microphone will give you more accuracy during speech recognition. If you are on a laptop, you can choose ‘Other‘ to use the inbuilt microphone.
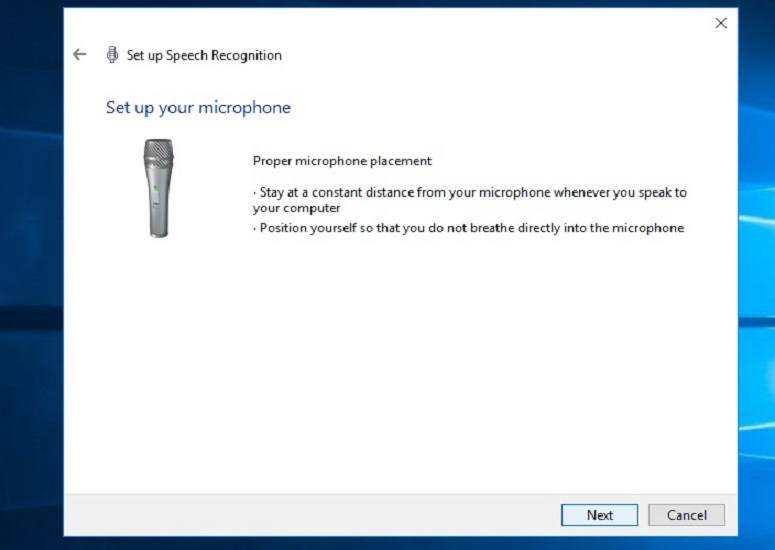
4. Read about proper microphone placement in the next window and click Next.
5. Speak distinctly the contents on-screen to calibrate your microphone and proceed to the next screen by clicking on Next.
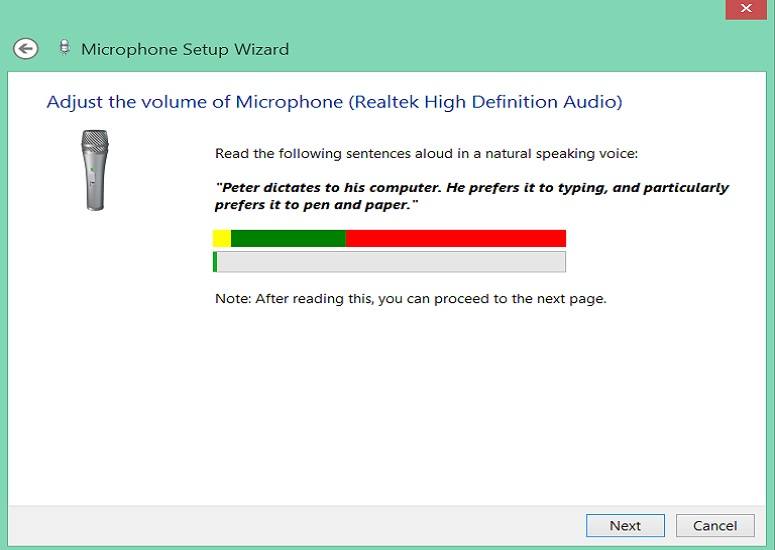
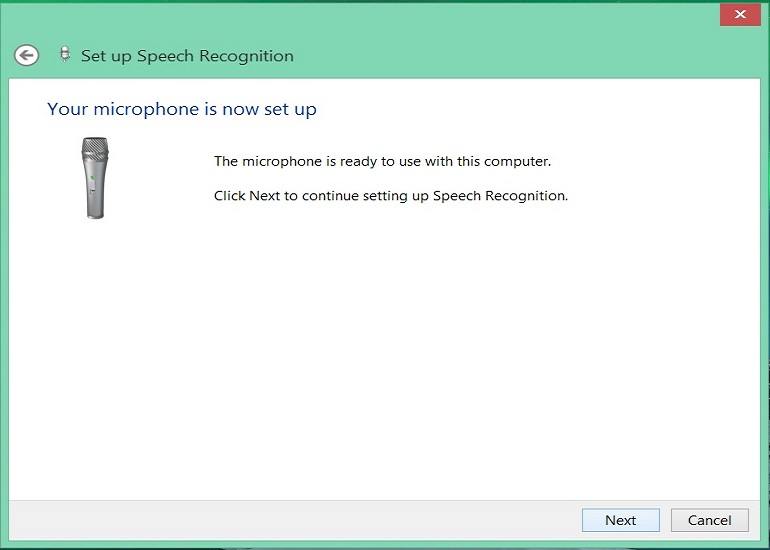
6. If it is shown that the microphone is ready to use, proceed to the next screen. If not, go back to the previous screen and speak loud and clearly until calibration is complete.
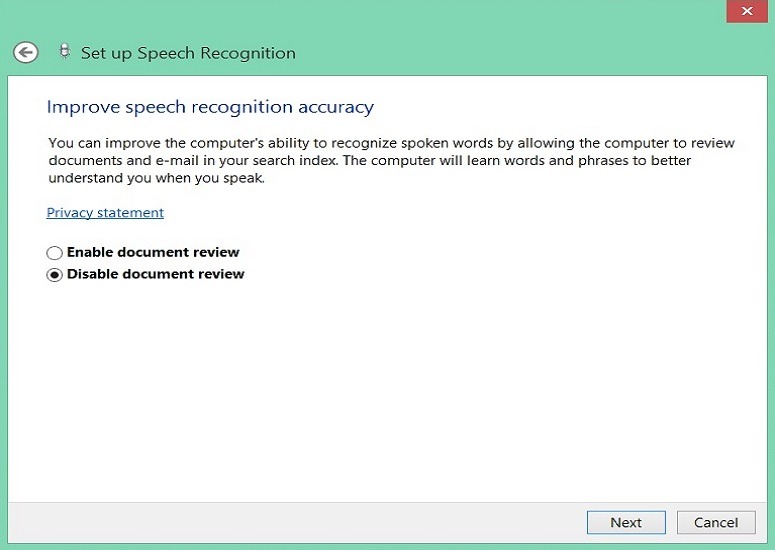
7. You can choose to enable better accuracy by allowing your computer to review your documents and e-mails.
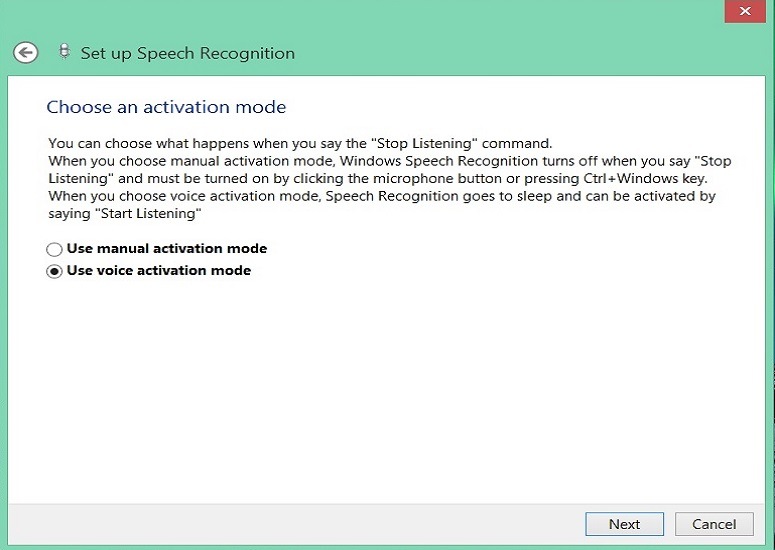
8. Choose an activation mode in the next window. If you select manual activation mode, speech recognition can be turned by clicking on the microphone icon or pressing the Ctrl+Windows key. In voice activation mode, speech recognition can be started just by saying “Start Listening.”
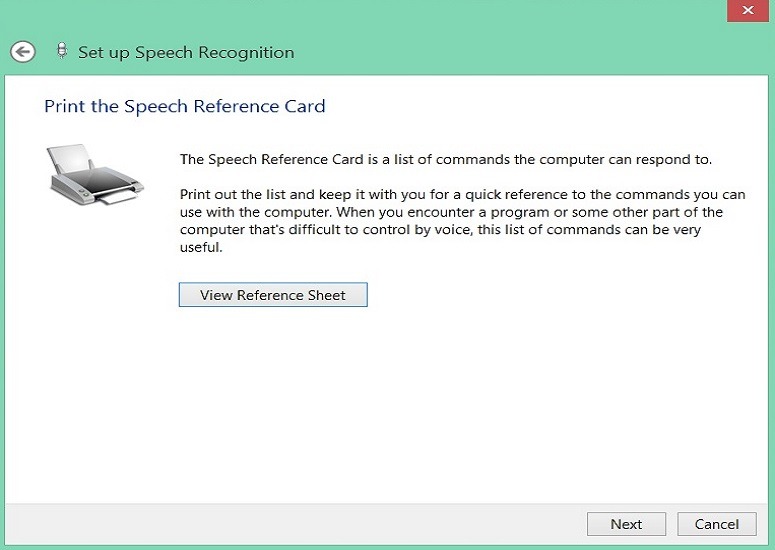
9. You can print the speech reference sheet to view helpful voice commands quickly.
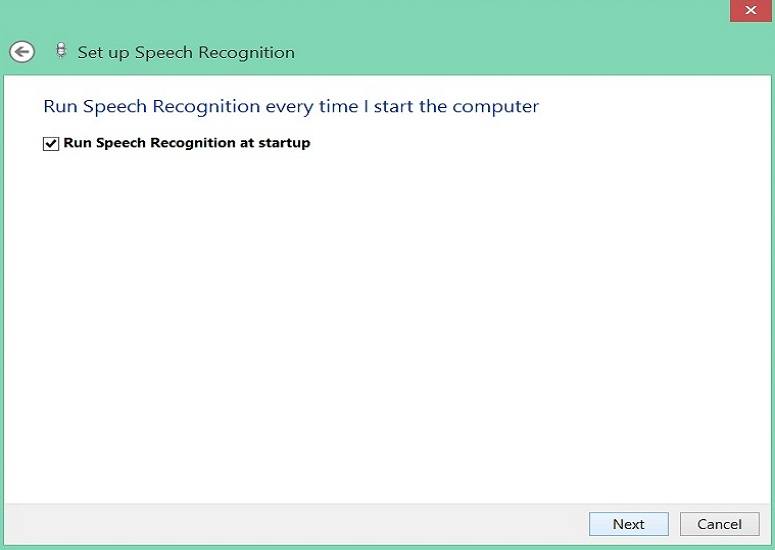
10. If you don’t want to enable speech recognition after every startup manually, mark Run Speech Recognition at startup and click Next. This option is already selected by default.
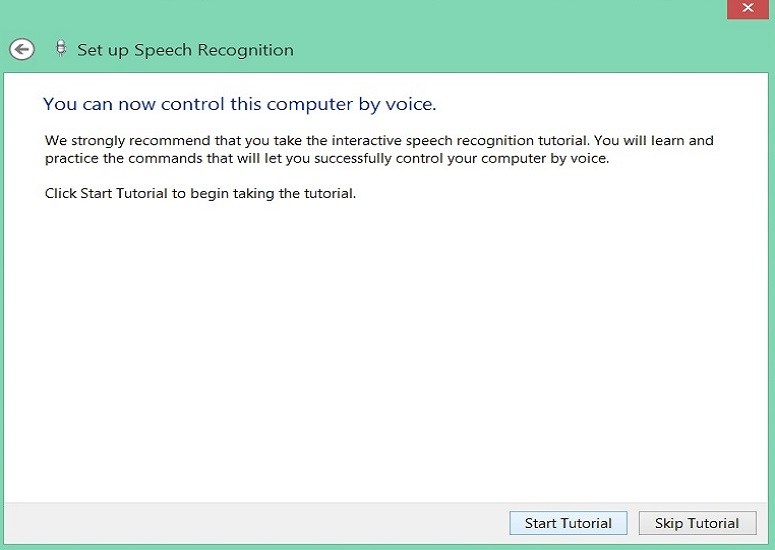
11. The next window will show you an option to take a tutorial on speech recognition. Follow through this tutorial instead of skipping it and you will learn a lot of useful commands.
You can find a list of helpful commands to control your computer here. Did you find this tutorial on how to enable speech recognition on Windows 10 to be beneficial? Share your reviews in the comments below.
Comments
Post a Comment